If you want to liven up your home during the winter months with a vibrant, tropical houseplant, consider choosing amaryllis. These plants are famous for their tall stems and large, striking flowers. While some people associate them with holiday decor, they can brighten up your space from Christmas all the way through spring. Keep reading to learn how to cultivate these lovely plants.
Amaryllis is a great addition to your home during the winter months as it brings in a pop of color. But there’s a common confusion regarding the name – is it Amaryllis or Hippeastrum that we are growing?
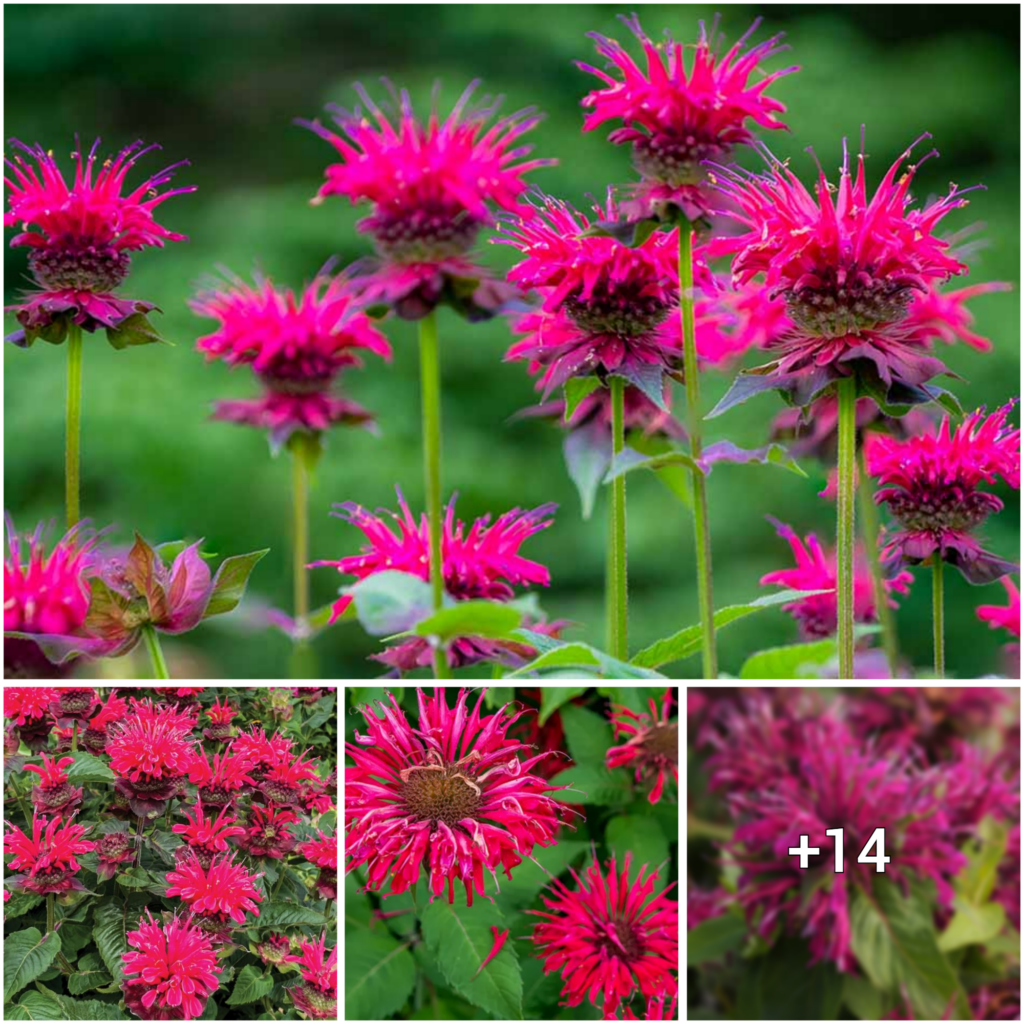
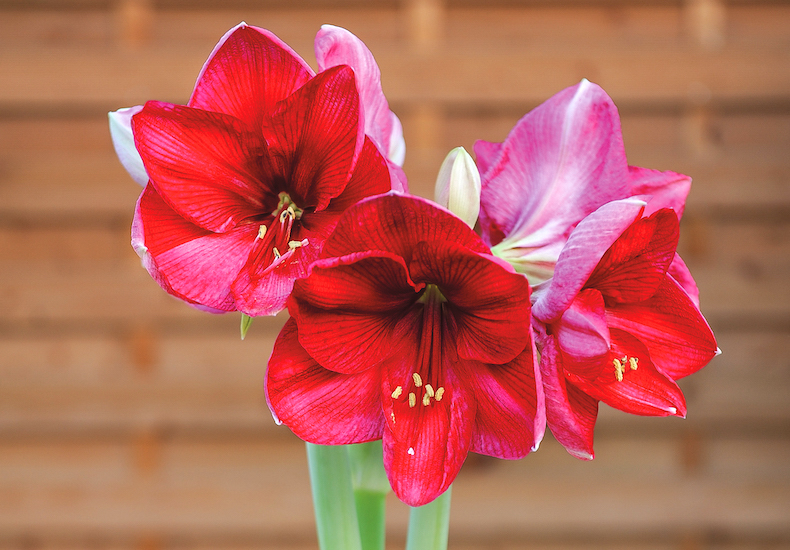
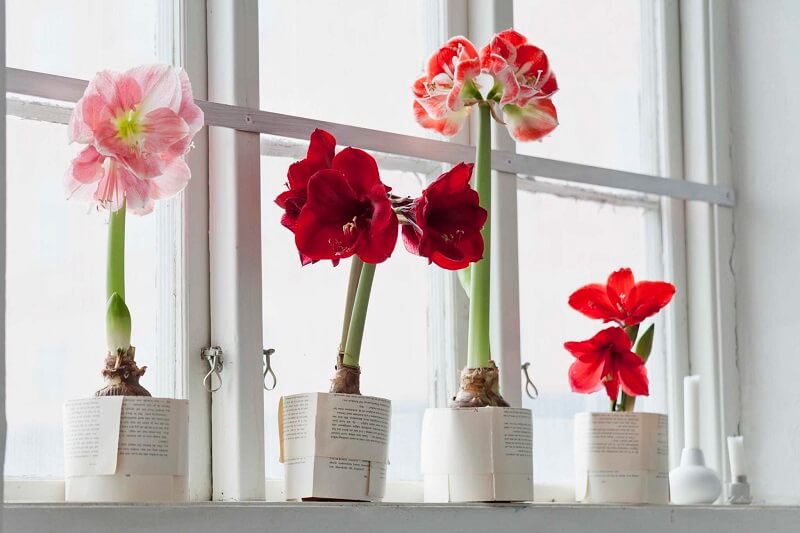
The Amaryllis ‘Minerva’ boasts of strikingly vibrant red blooms with a standout central star. This particular flower has been copyrighted by Visions BV, Netherlands.

Did you know that the authentic amaryllis is the belladonna lily, which is native to South Africa? The amaryllis we typically refer to actually belongs to the genus Hippeastrum, which is part of the same plant family as daffodils and snowdrops. It comes from South America.
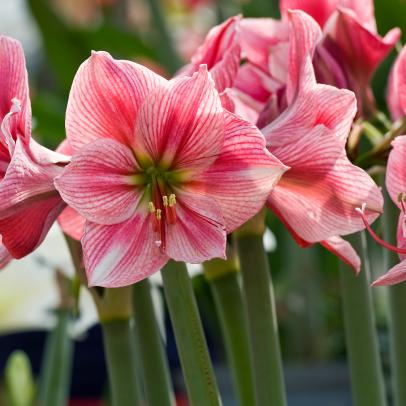
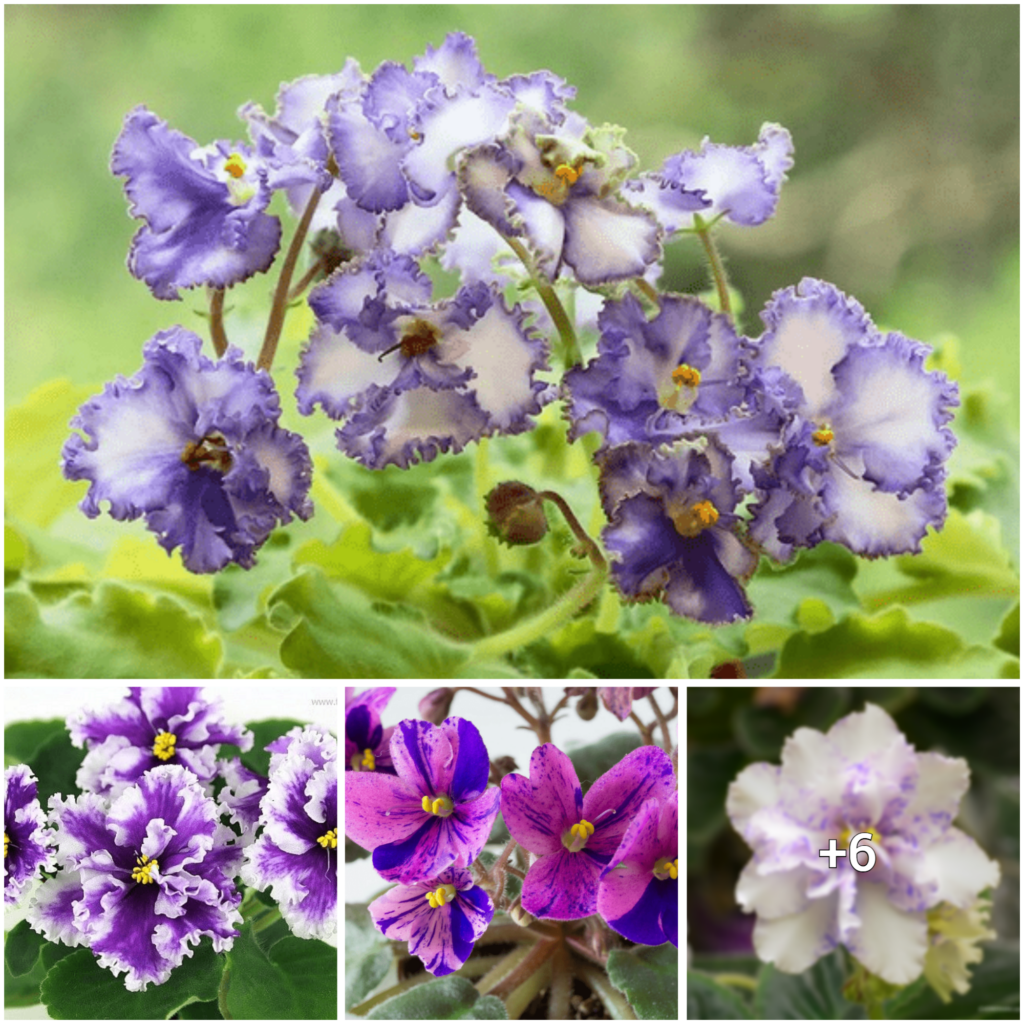
To ensure that your Amaryllis ‘Picotee’ bulbs bloom when you want them to, it is recommended to plant them 10-12 weeks beforehand. This will guarantee that you can enjoy their beautiful flowers at the desired time. Keep in mind that this information comes from Visions BV, a company based in the Netherlands that holds the copyright for this variety of Amaryllis bulbs.

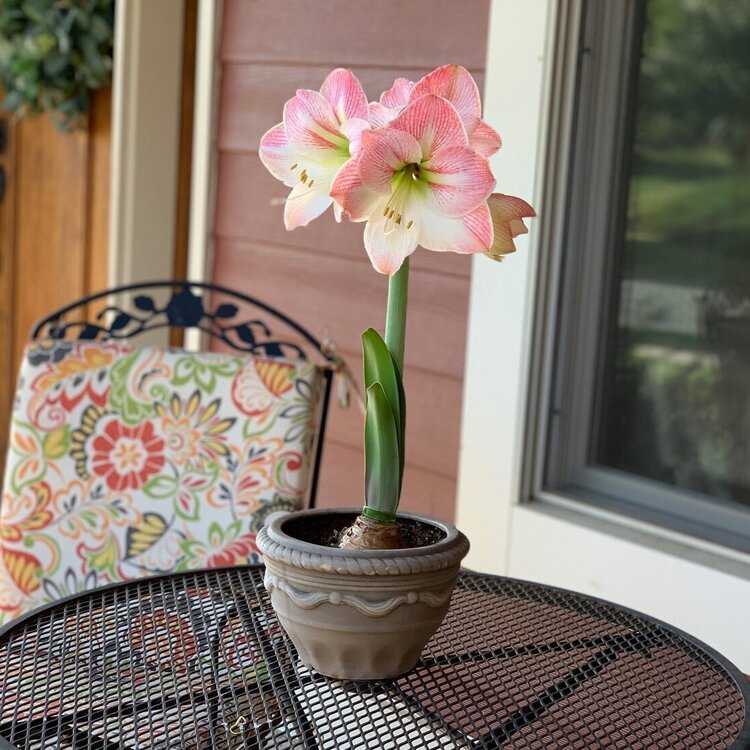
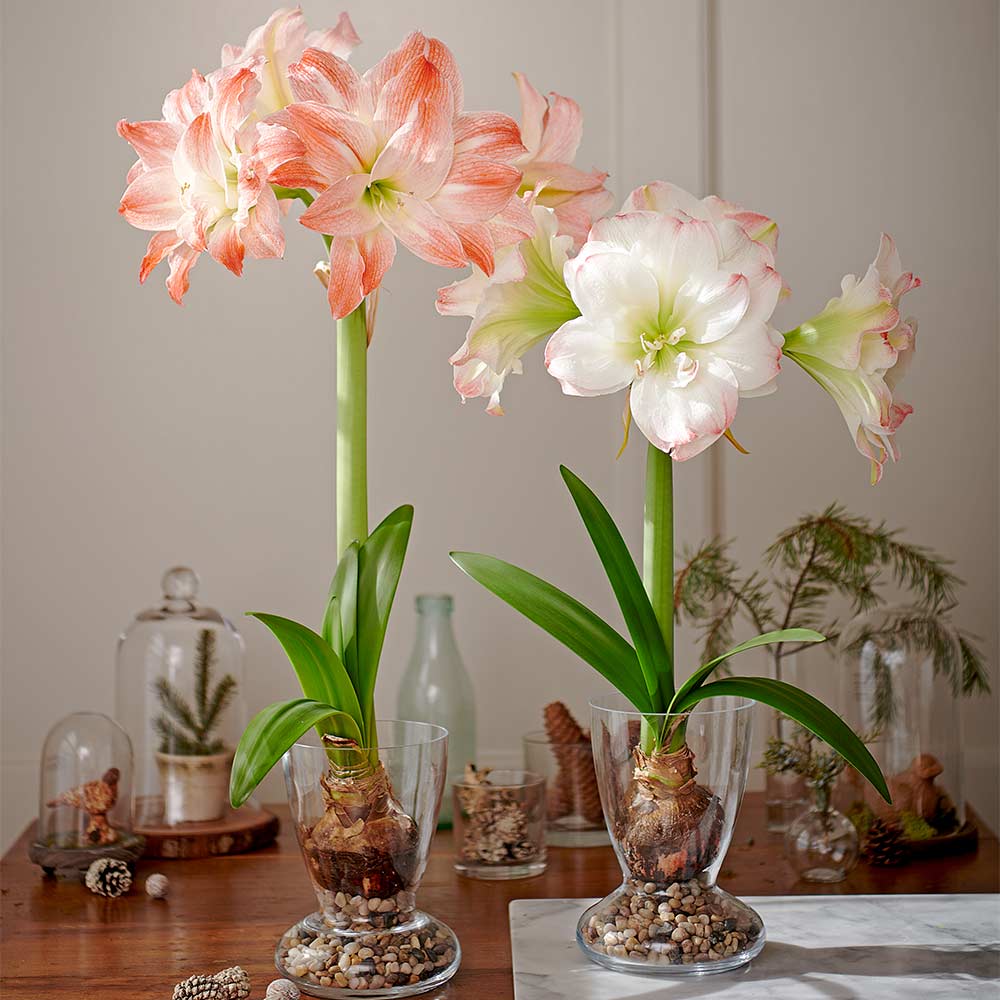
To ensure a beautiful bloom, it is recommended to plant your amaryllis bulbs six to eight weeks prior. Choose a pot that accommodates the size of your bulb and fill it up with general-purpose compost. Cover two-thirds of the bulb, leaving the top portion exposed. Keep the soil moist by watering it from the top but avoid overwatering that may lead to water accumulation in the saucer.
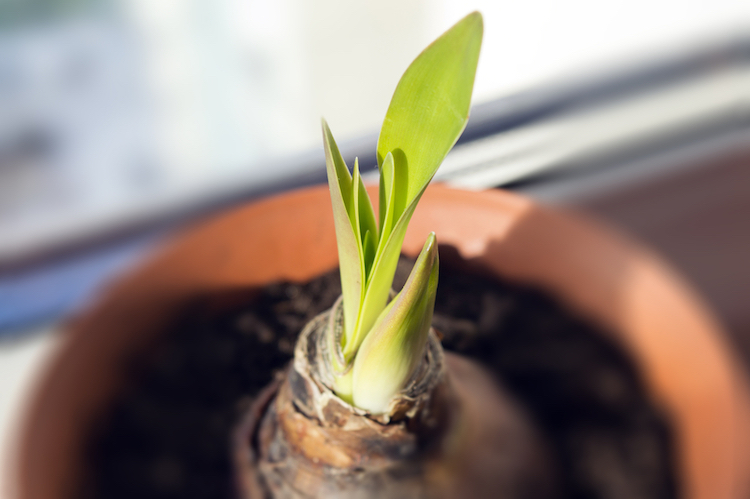
To encourage growth in amaryllis plants, it’s important to maintain a consistent temperature of 20-25°C. A dark airing cupboard can be an ideal spot for them during this stage. Once the bulbs have started sprouting, move them to a warm and bright location. However, make sure to rotate the plant regularly to prevent the stems from bending towards a particular light source. Keep the soil moist and feed the plant with standard tomato fertiliser every 10 days. If you want the blooms to last longer, shift the plant to a cooler spot once it starts flowering. If you plan on growing amaryllis outdoors, there are different factors to consider.

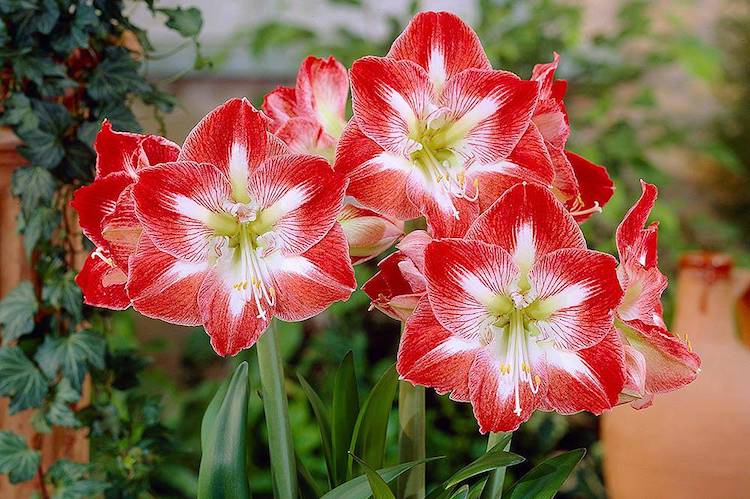
Once Amaryllis ‘Dancing Queen’ blooms have lost their luster, it’s recommended to cut the stem entirely. Make sure to cut it as close to the base as possible, which will encourage another bloom later on. After blooming, the plant will grow foliage. It’s essential to provide proper nourishment to the bulb during this stage for next year’s flowering. Proper feeding is crucial at this time.
If there is no chance of frost, it’s safe to move your amaryllis outdoors during spring and summer. Select a protected location with moderate sunlight and limit watering while ensuring that the soil doesn’t dry out entirely. As soon as the leaves begin to wither, gradually decrease the watering frequency until the soil is barely damp to let the bulbs go into dormancy or semi-dormancy. For the plant to bloom again, bring it back inside during autumn and restart the process.
What steps can I take to promote the flowering of my amaryllis?
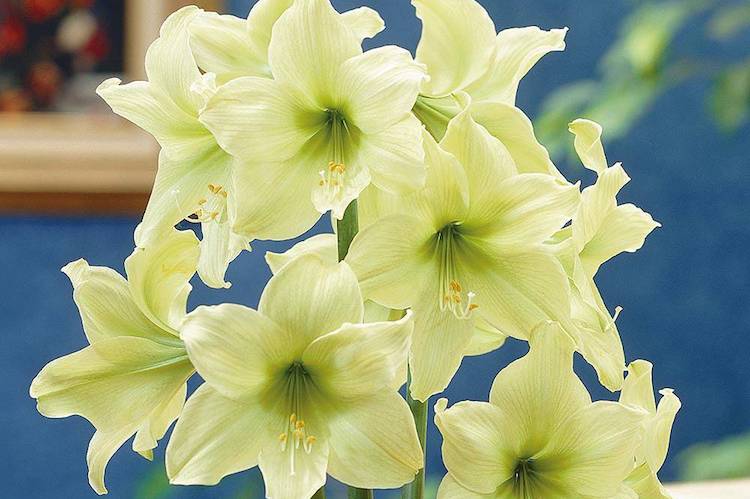
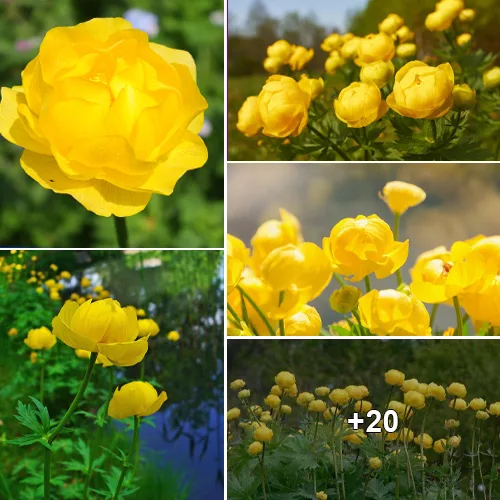
The Amaryllis ‘Lemon Star’ is a stunning plant with large, creamy yellow blooms that are sure to catch anyone’s attention. To ensure optimal growth, it is best to move the plant to a cool and well-lit spot in late September, with a temperature around 13°C, for about eight to ten weeks. During this time, remove any old foliage by cutting it back to the bulb’s neck. After this period, transfer the amaryllis bulbs to a warm location and start watering them according to the growing instructions provided. When the plants start growing again, feed them with a balanced fertilizer every few weeks to promote flower production. Remember to repot your amaryllis plants infrequently.
When it comes to repotting your amaryllis, it’s important to be cautious about the size of the pot you choose. Amaryllis plants prefer to have their roots undisturbed, so it’s best to only repot them every few years. Also, keep in mind that these plants thrive in smaller pots, so resist the urge to pick a larger one. Once the flowering season is over (typically from January to March), gently remove the bulbs from the soil and clean off any excess root material. Then, replace the old soil with fresh compost and replant the bulb, ensuring that about one-third of it is visible above the surface.
We would love to hear about your preferred amaryllis! Feel free to drop a message on our Facebook page. Also, check out our spring flowering bulb hub page to discover various indoor and outdoor bulbs to cultivate. We have included growers’ guides and planting tips to assist you in growing them successfully.